
Create a project
Create a project, link it to a client, and connect the repository, Analytics property and Search Console site that everything downstream depends on.
Creating a project takes under a minute. Connecting it properly takes five more, and those five minutes are what make SEO reports, Builder surfaces and client analytics work later. Do both in one sitting.
Before you start
You need to be an owner or hold the projects edit permission. Linking an Analytics property or Search Console site needs those Google accounts connected to your workspace first.
Create the project
Open Projects and click New Project
Pick the client
Search under Client and select an existing client. This auto-fills the name, email, phone and company fields below.
Enter a Project name
The only required field.
Pick a Workflow
Only shown when your workspace has more than one. It decides which internal sections the project has.
Fill in whatever else is useful
Status, client contact fields, Description and Internal notes.
Click Create Project
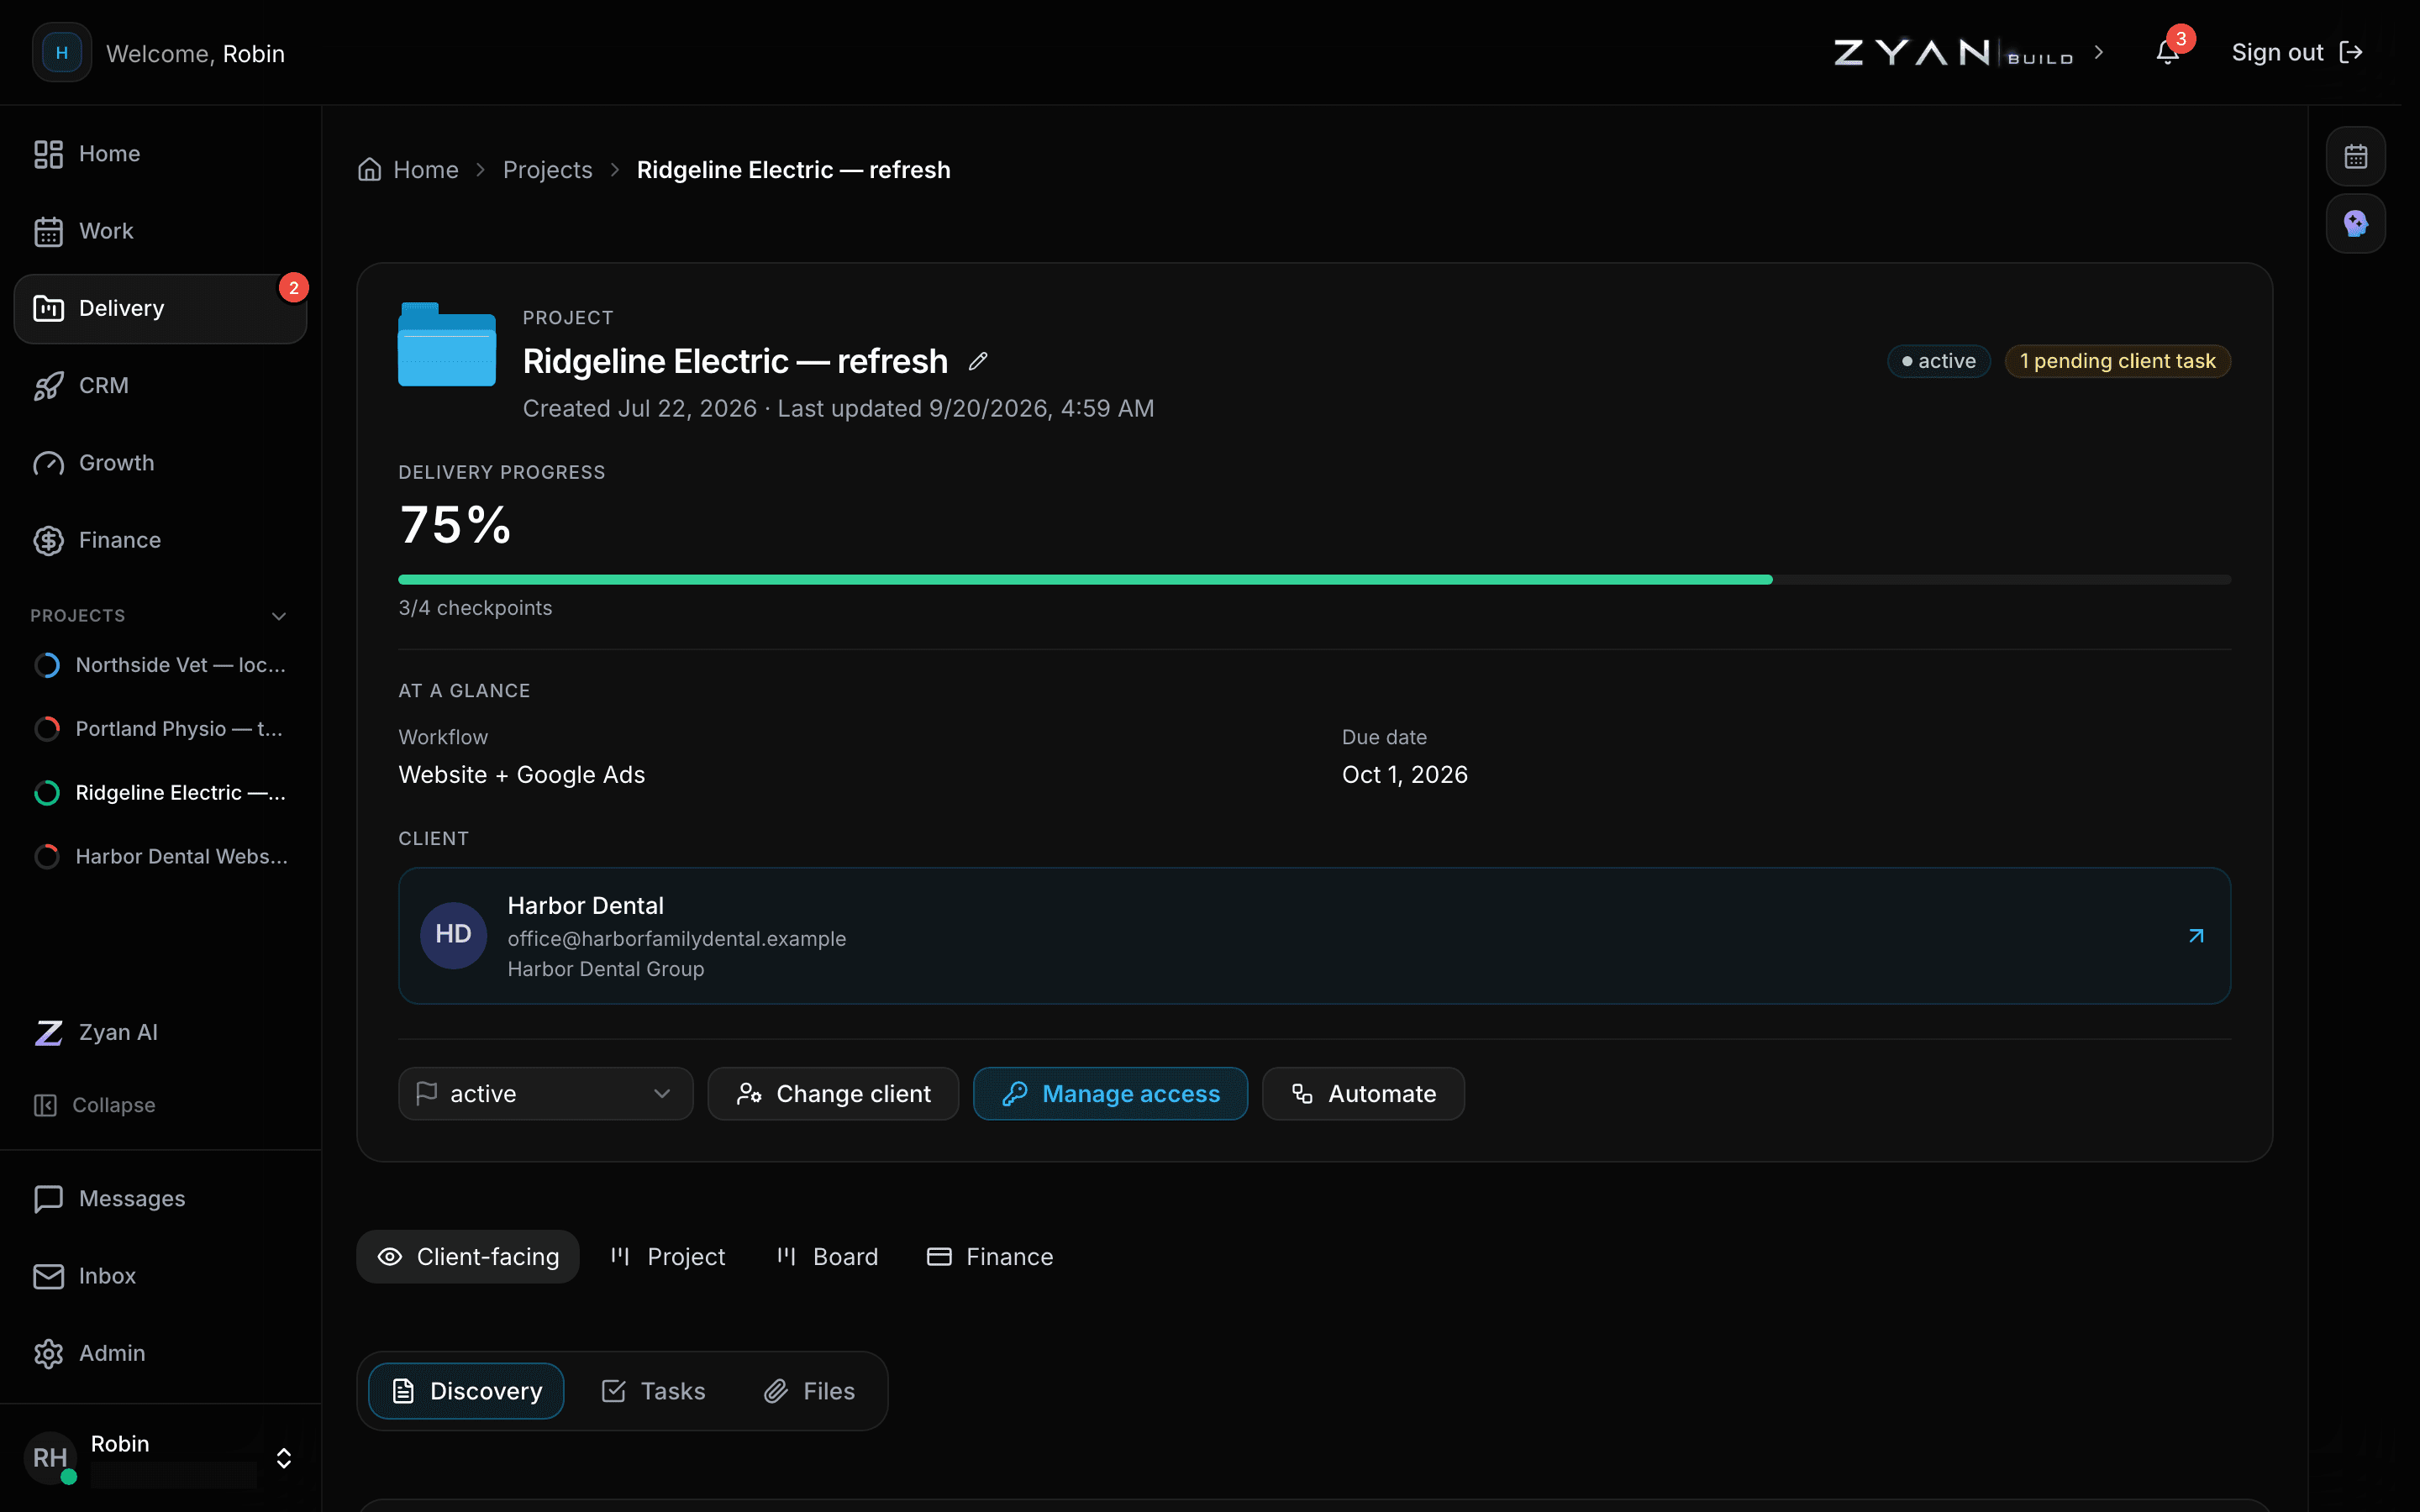
You land on the new project's page.
| Setting | What it changes | Default |
|---|---|---|
| Client | Stamps the client onto the project and pre-fills the contact fields. | — |
| Project name | The project title everywhere in Zyan. Required. | — |
| Workflow | Sets the project type, which decides which project sections exist. | The first workflow in the list |
| Status (optional) | The project's starting status, which also decides its bucket and board column. | — |
| Client email / name / company / phone (optional) | Stored as offline client contact details on the project. | — |
| Description (optional) | The project description. | — |
| Internal notes (optional) | Creates an internal-visibility project note. Visible to admins only, never to the client. | — |
No client portal is created here
The dialog makes a project, not a login. Provision the portal afterwards — see Create a client portal — and link it to this project so approvals and the discovery interview work.
Closing the dialog with unsaved text asks before discarding it.
Connect the project
Open the project and go to ProjectSetup. Three links live here, and they are the ones that unblock everything downstream.
Paste the repository
Use the form github.com/org/repo. A branch icon appears on the project
card once it is saved.
Pick the Google Analytics property
Choose from the list, or use the refresh control to fetch all properties from Google.
Pick the Google Search Console site
Select from the list, or type it directly — www.example.com or
sc-domain:example.com.
| Setting | What it changes | Default |
|---|---|---|
| Repository | The GitHub repository this project's site lives in. Adds the branch icon on the project card. | No repository linked |
| Google Analytics Property | The GA property that reports and client analytics read from. Nothing is linked until you pick one. | — |
| Google Search Console Site | The Search Console property that reports read from. Nothing is linked until you pick one. | — |
Fetch all properties can show more than your settings do
The refresh control asks Google directly, so it can list properties that are not saved in your Analytics settings. Picking one here works, but save it in your Analytics settings too if you want it available everywhere.
Why Setup matters
| Link | What it unblocks |
|---|---|
| Repository | Builder surfaces, the open-PR badge on the project card, and publishing work back to the site |
| Analytics property | Traffic figures in reports and in the client's Analytics page |
| Search Console site | Query and impression data behind SEO reporting |
The SEO Command Center expects all three before it can enrol the website and produce a report worth sending. Set them here first, then go to SEO Command Center setup.
Fill in the brief
The living brief sits at ProjectBrief & reports: the overview text, social media URLs, the planned page tree, an onboarding checklist and attachments. It autosaves and shows All changes saved, and it warns you if you leave with unsaved edits.
Attachments need a title before they upload
The Name your files before uploading prompt blocks the upload until you fill in a File title. This is deliberate — it stops a brief filling up with files called "scan_final_v2".
The same section holds Reports, the client-facing files the portal shows. Upload one with a Title and a Category, or attach an existing SEO report with a portal date. Two behaviours are worth knowing before you attach anything:
- Attaching an SEO report shares it immediately. The portal date controls the order it appears in, not whether the client can see it.
- A report marked Hidden stays out of the client portal, which is the honest way to park a draft you are not ready to show.
Troubleshooting
| Symptom | Cause | Fix |
|---|---|---|
| New Project does nothing | You lack the projects edit permission | Ask an owner to grant it |
| The Workflow picker is missing | It is hidden when your workspace has zero or one workflow | Nothing to fix |
| The internal note is not on the project | If the note write fails the project is still created, and only a console warning is logged | Add the note again from the project |
| A property is missing from the Analytics list | It is not saved in your Analytics settings | Use the refresh control to fetch all properties from Google |
| A brief attachment will not upload | It has no File title yet | Name the file, then upload |
| The client cannot see the project | No portal is linked to it | Create a portal and link it to this project |